
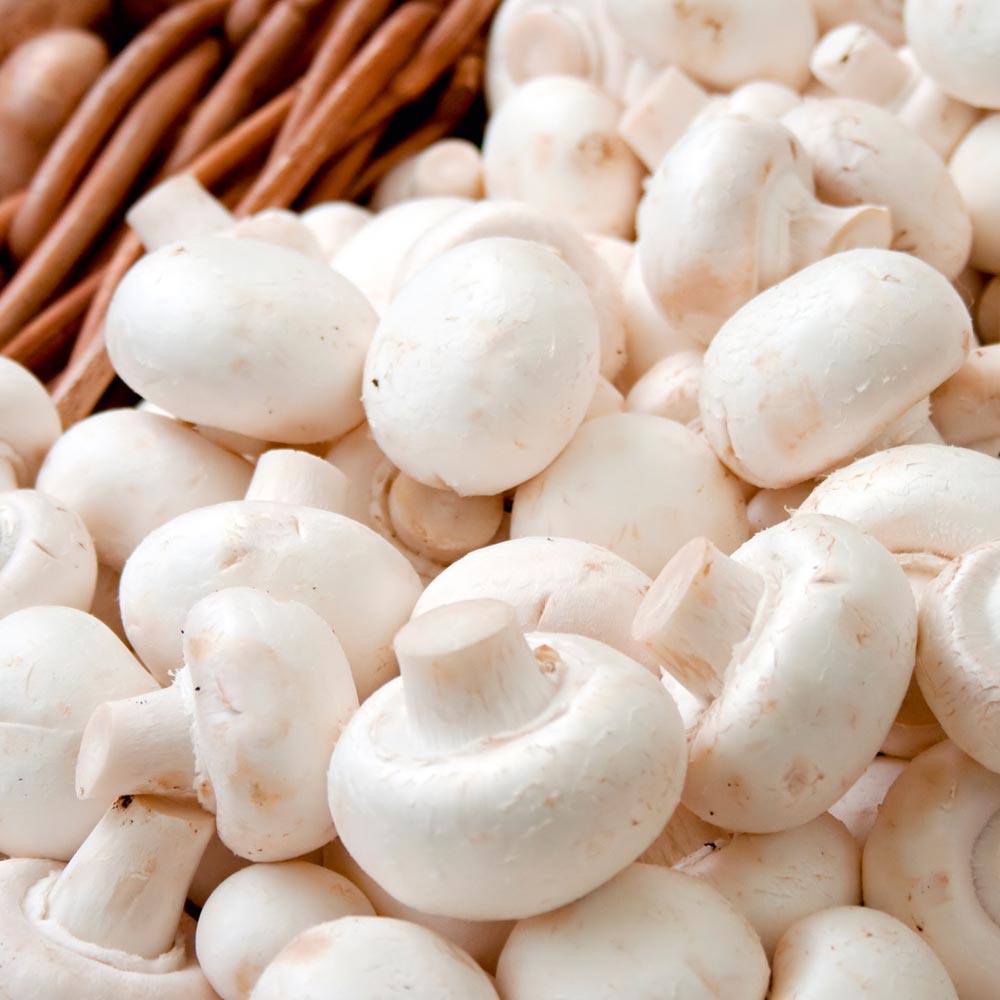
Growing mushrooms at home doesn’t need to be difficult! They may seem daunting but with our super easy Windowsill Mushroom Growing Kits, you can kick start growing your very own mushrooms at any time of year, ready for some delicious crop to use in the kitchen. After the first crop you should expect to see at least two more, with this kit including a handy instruction guide on how to get the best crops possible. Each kit measures 17.5cm (length) x 27.5cm (width) x 8cm (depth). Be sure to place them on a windowsill with slight shade, away from the direct sunlight that can dry out or prevent the soil from staying moist. Select your favourite from a choice of 4 different kits: White, brown, Oyster Grey or Shii-take. Each kit contains a base tray, colonised substrate, a bag of cover compost and a plastic lid.
Growing Information
1. Take the bag containing ‘cover compost’ from the base tray and store it in a cool place.
2. Place the base tray with the plastic lid on top at a temperature of 20–25°C for 4 or more days. After this period, the substrate will have turned completely white with fungus (mycelium).
3. Take the bag with ‘cover compost’ and punch ten holes in each side. Put the bag in 0.5 litres of water for 20 minutes. Open the bag and spread the ‘cover compost’ evenly and loosely over the substrate within the tray.
4. Now put the entire tray aside with the lid closed for 5–8 days, at a temperature of 20–25°C. In this period, the mycelium will grow through the layer of cover compost to the surface. Once the cover compost is covered with white mycelium, put the tray in a cooler position of 15–18°C.
5. Make sure that the surface of the cover compost does not dry out. Regularly mist spraying with a plant spray will keep it damp.
6. If a good number of baby mushrooms appear, you can water over the tray with a watering can. The substrate and cover compost should be moist, but not too wet. The mushrooms first appear at the edges, and then later in the centre of the tray.